DeepSeek Harness (dsh) installs with one command. What deserves attention is the next step: the agent can read and edit workspace files, run commands, and delegate work, so the first session is a permissions decision, not a setup step.
Below: both official install routes, the configuration the Web UI requires, and a safe first session. Checked against the official repository on 2026-08-18.
Before You Install DeepSeek Harness
Prepare a DeepSeek API Key
The Web UI needs a model route before it can do anything. Use a key scoped to evaluation, not one already wired into production.
For a source checkout, the official development guide documents DEEPSEEK_API_KEY and an optional DEEPSEEK_BASE_URL, read from the environment or a gitignored .env at the repository root. Its instruction is worth repeating: never commit real credentials.
Choose a Safe Test Repository
Pick a disposable repository — no production credentials, no .env files, no deployment keys, nothing under NDA. A cloned public project or scratch repo is ideal.
This matters because of where the process anchors itself. The official Web UI guide states that dsh uses its invoking directory as the default filesystem location. Where you start the command is part of your security posture.
Run DeepSeek Harness with npx
Start the dsh Web UI
The official README gives one prerequisite and one command. Install Node.js, then run:
bash
npx @deepseek-ai/dsh webRun it from inside your test repository, not your home directory or a folder holding multiple client projects.
Note the scope. @deepseek-ai is the official npm scope and deepseek-ai/deepseek-harness the official repository. Similarly named packages appeared quickly after launch; a matching name is not provenance.
Open the Local Server
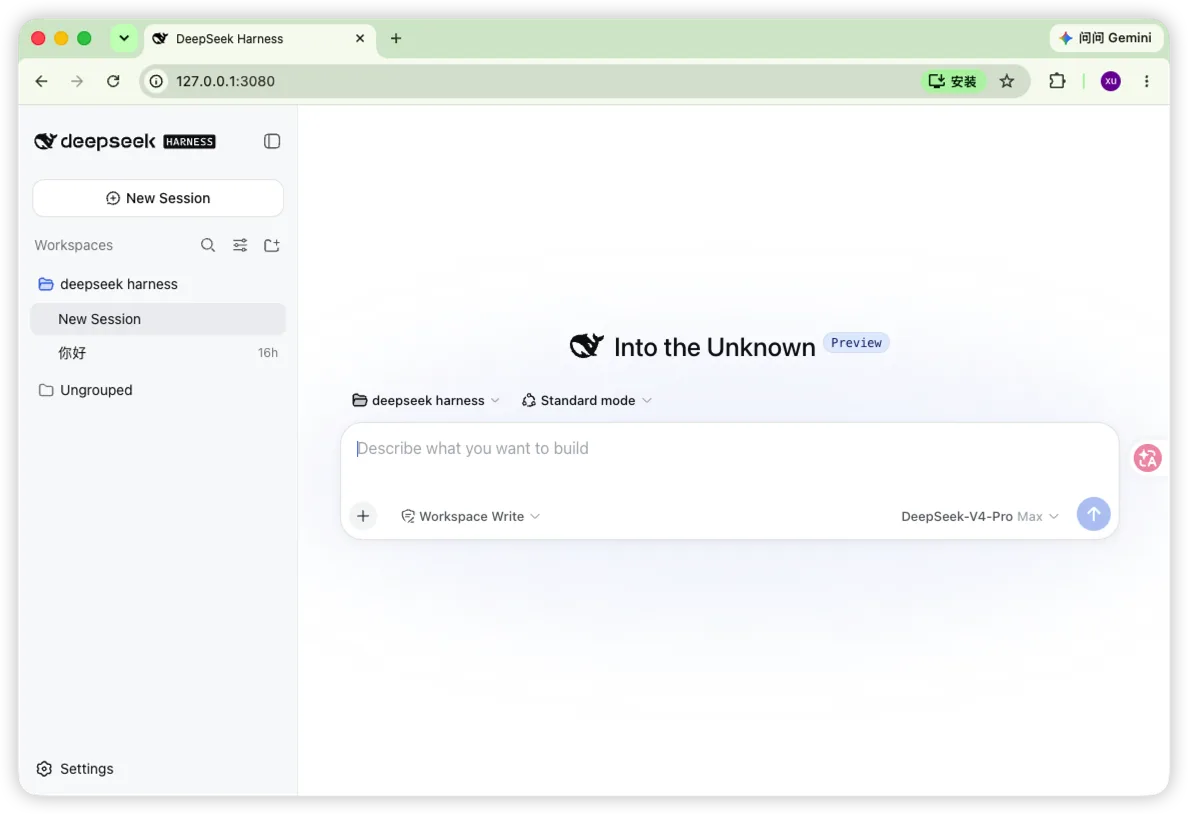
The command starts the Web UI, served at http://127.0.0.1:3080 by default, and prints its URL.
The loopback address matters: this is a local server holding an API key and reaching into your filesystem. Do not bind it to a public interface for convenience.
Configure Your First Model and Workspace
Add a DeepSeek Model
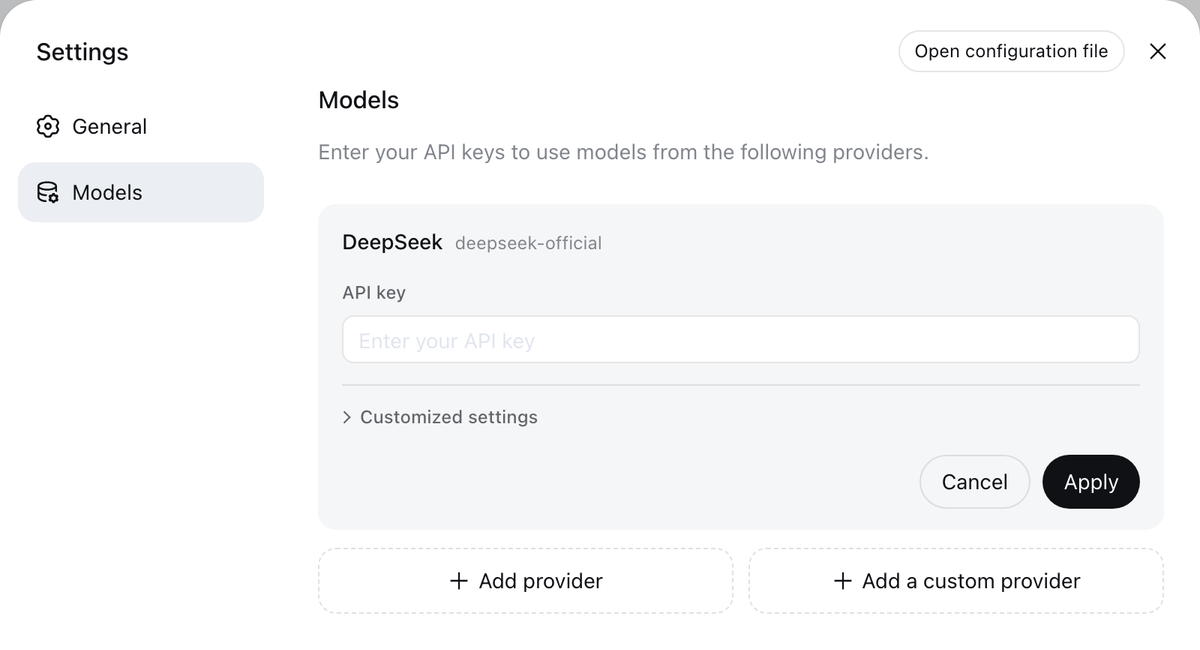
A fresh Web UI has no model configured. Open Settings → Models, enter your DeepSeek API key, and save. Per the Web UI guide, the route becomes usable immediately without restarting the server.
Other providers and custom OpenAI-compatible endpoints are covered in the official model configuration guide. One provider is enough for a first run.
Select a Project Directory
Click Choose workspace, add the project directory where you started dsh, and select it. The session composer stays unavailable until a workspace is selected, so this is not optional.
Be precise about what that selection does. The workspace is the default working directory and, under the default workspace-write mode, the mutation boundary — it is not a complete read or security boundary. The project's own implementation notes describe that mode as governing file effects, while reads, network access, and process visibility sit outside it. Add the test repository only, and do not treat the selection as a sandbox.
Run DeepSeek Harness from Source
Clone and Install the Repository
The README documents the source route:
bash
git clone https://github.com/deepseek-ai/deepseek-harness.gitcd deepseek-harnesspnpm installpnpm run buildpnpm dsh webThe development guide documents Node.js 22.19+ and 24+ for the source checkout, with CI covering 22.19, 24, and 26; Corepack-enabled pnpm, with the repository pinning pnpm@11.7.0; and Git 2.26 or newer. The root package.json declares an engines range of ^22.19.0 || >=24.0.0.
The root README's npm section says only "Install Node.js" and does not state a separate minimum — do not read that omission as support for older Node versions.
Build and Launch the Web Profile
The install step also configures worktree-local hooks and a Git merge driver; if dependencies came from cache or postinstall was skipped, the guide documents running node scripts/install-lefthook.mjs manually.
Then run pnpm run typecheck once. The guide treats a successful typecheck as the signal that setup is complete — check that before blaming the harness for a failed session.
Verify a Safe First Session
Test Repository Reading
Start with the read-only task the official guide itself suggests:
Summarize this repository and identify its main packages.
It tells you three things at once: the model route works, the session is targeting the workspace you intended, and you can see how the agent reports work before it changes anything.
Review Approvals for File and Command Changes
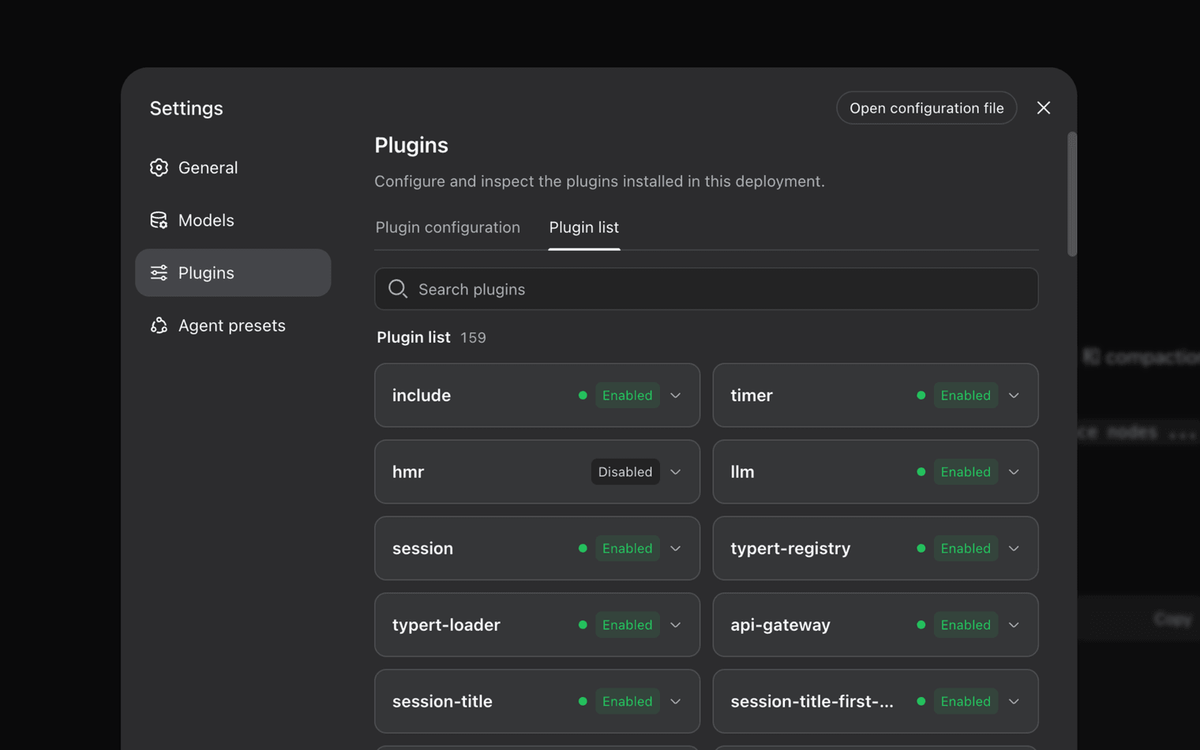
The Web UI guide is explicit: the agent can read and edit workspace files, run commands, delegate work, and maintain a plan, and the Web UI asks before operations requiring approval under the active permission policy.
Note what that sentence does and does not promise. Approval prompts cover operations that cross the active approval boundary; ordinary in-workspace actions may not produce one. A fresh session under the documented defaults can modify the active workspace and temporary roots without an extra prompt, and command approval surfaces when an operation escalates beyond that surface.
So run one harmless in-workspace file write and one harmless command, then check the result on disk — that shows you what happens silently. When an operation does request wider access, read that prompt rather than clicking through it. This is the discipline any supervised multi-agent workflow needs — Verdent's plan-then-execute model exists for the same reason — and it costs a few minutes exactly once.
Do not reach for blanket auto-approval during evaluation. Prompts are your view of the escalations, and a disposable repository is your cover for everything below that line.
Developer Preview Limits to Expect
Compatibility-Breaking Changes
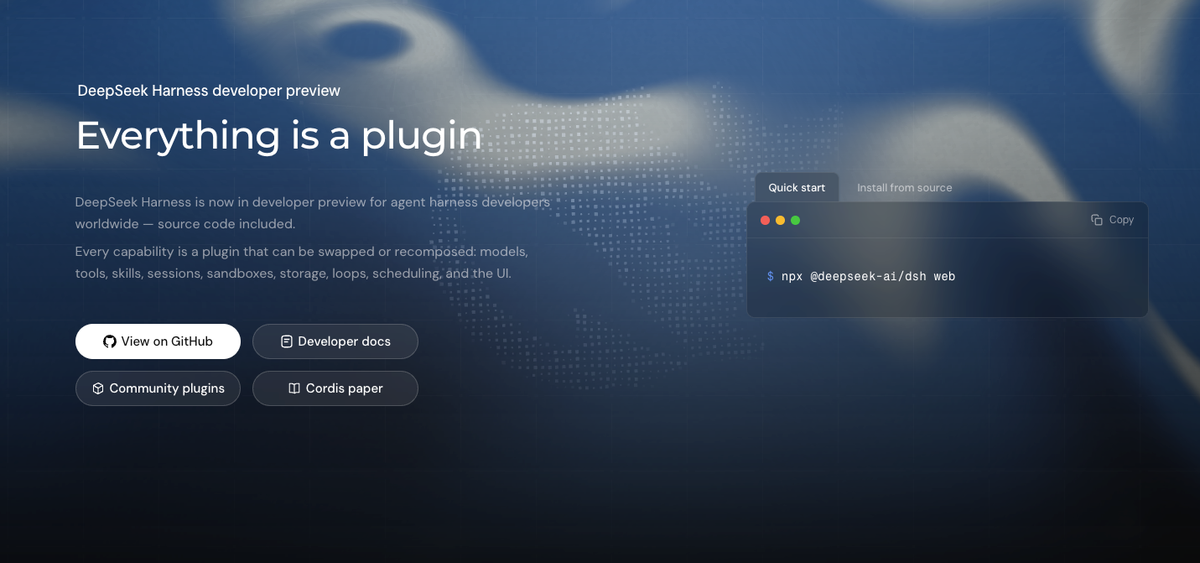
The README states that DeepSeek Harness is in developer preview, is iterating rapidly, and that there will be compatibility-breaking changes. Take it literally: configuration shapes, plugin interfaces, and prompts can move between builds.
Telemetry behavior is documented: session telemetry is disabled by default, with explicit opt-in modes including FULL and FEEDBACK_ONLY. What I did not find in the materials checked was a published retention policy, a production SLA, or quantified performance and stability guarantees. Those are open questions, not gaps to fill from third-party posts.
Version Pinning and Rollback Planning
Pin whatever you test. Record the exact package version or commit hash with your results — a comparison against an unpinned preview build is not reproducible a week later.
Plan the rollback before you need it: keep the previous working version installable, keep the test repository disposable, and keep session results on a branch rather than master.
FAQ
Is DeepSeek Harness open source?
Yes. The source is public in the deepseek-ai/deepseek-harness repository under the DeepSeek AI GitHub organization, which describes it as an open-source agent harness developed by DeepSeek AI.
Which license does DeepSeek Harness use?
MIT, per the LICENSE file. Third-party dependencies and their licenses are disclosed in THIRD_PARTY_NOTICES.md. An MIT-licensed harness does not make inference free — provider charges still apply.
Does dsh support headless automation?
The Web UI is one interface among several. The development guide documents a one-shot headless coding agent invoked as pnpm dsh --profile headless "summarize this workspace", plus an ACP automation server over JSON-RPC stdio, both requiring DEEPSEEK_API_KEY. Other CLI modes and a Python SDK are covered in the repository docs.
Can developers create third-party dsh plugins?
Yes — the architecture is built on the premise that everything is a plugin. The README asks plugin authors to add the dsh-plugin topic for discoverability, and the docs include a plugin development guide. Treat third-party plugins as code you are installing into your agent's runtime, and review them accordingly.
Where should bugs and feature requests be reported?
Through GitHub Discussions on the official repository, which the README names as the channel for feedback and bug reports. A Discord community is also linked there.
Related reading
- Before you widen access beyond a test repository, work through the pre-adoption checks for a harness like this one.
- If the approval prompts are the part you want to get right, see how automated review stays queue triage instead of an approval bot.
- Once more than one person uses it, the harder question is who owns an agentic workflow running across a team.
- When the comparison shifts to a governed team platform, this enterprise assistant review covers deployment and permission layers.
- And when someone cites benchmark numbers for a preview build, it helps to know what a benchmark like SWE-bench Pro can and cannot tell you.
Commands, defaults, and prerequisites verified against the official repository on 2026-08-18. This is a developer preview — re-check the README and docs for the version you install.